


The Ultimate Classic Car Restoration Guide
Welcome to the Ultimate Classic Car Restoration Guide. Certainly, it’s not as intricate as restoring a SC300 Lexus for sale,…
Restoring cars is a meticulous and labor-intensive process that requires dedication and expertise. Whether it's a classic vehicle or a salvage find like the SC300 Lexus for sale, every restoration project presents its own set of challenges. From addressing mechanical issues to rebuilding engines and refinishing bodywork, each step demands careful attention to detail and precision craftsmanship. Even in the most challenging cases, such as salvaged vehicles with extensive damage, restoration enthusiasts are undeterred, tackling the toughest projects with determination. These dedicated individuals take on the task of breathing new life into vehicles, turning what may seem like hopeless cases into stunning automotive masterpieces. With patience, skill, and a passion for automotive craftsmanship, restoring cars like the SC300 Lexus offers a rewarding journey, culminating in the satisfaction of seeing a once-neglected vehicle restored to its former glory.
Welcome to the Ultimate Classic Car Restoration Guide. Certainly, it’s not as intricate as restoring a SC300 Lexus for sale,…
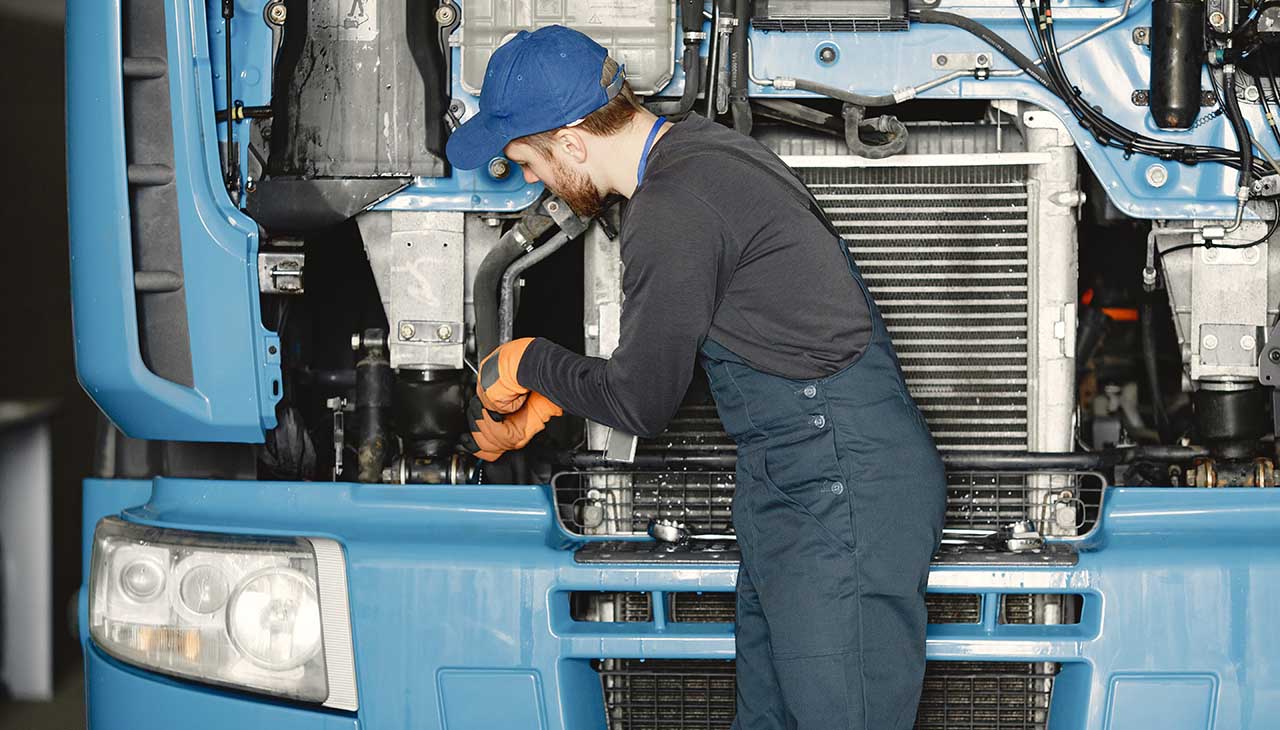
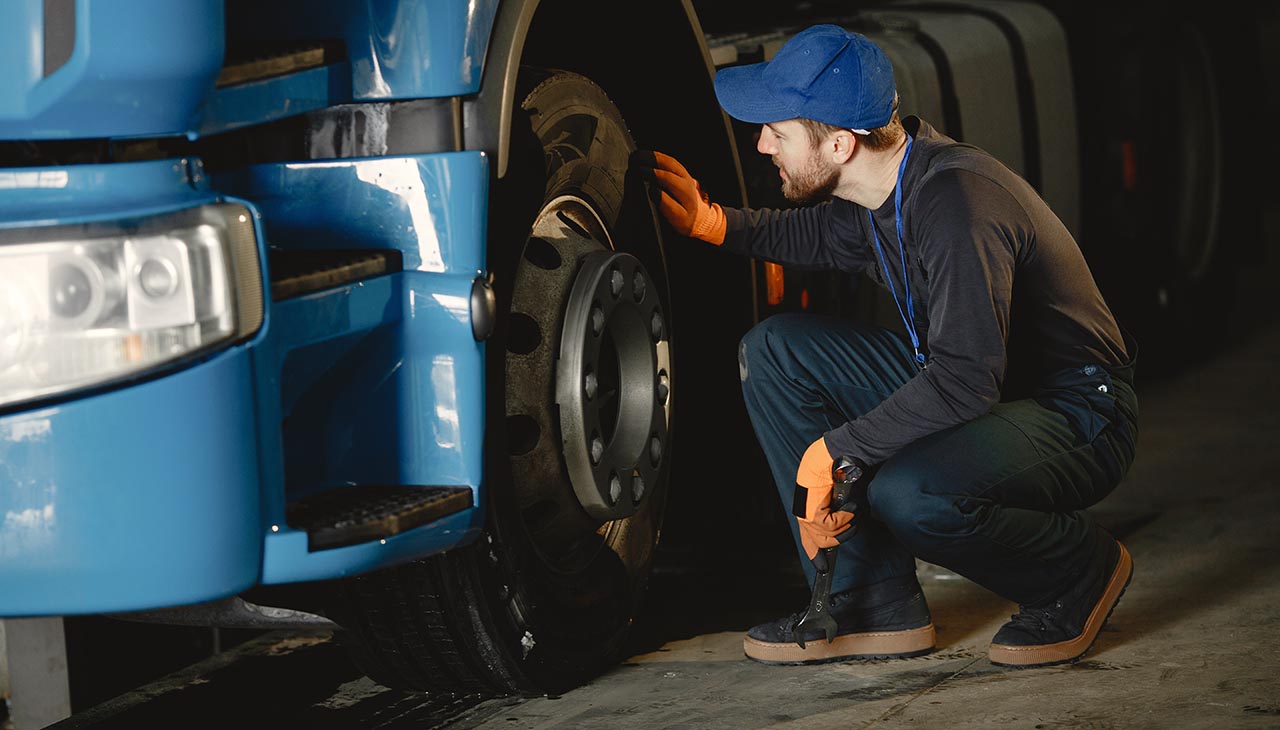
The prospect of restoring an old truck can be a thrilling adventure filled with opportunities to learn and challenge one’s…
Sustainable EV battery repair and servicing centers around the principle of maximizing the lifespan of electric vehicle batteries while minimizing…
Restoring an old motorcycle can be a rewarding endeavor, a thrilling journey that combines mechanical skill, patience, and a deep…
Restoring a truck is not just a project, but a journey into the heart of the machine, a testament to…
Electric vehicles (EVs) are reshaping the transportation landscape, offering an eco-friendly alternative to conventional gas-powered cars. As their popularity surges,…
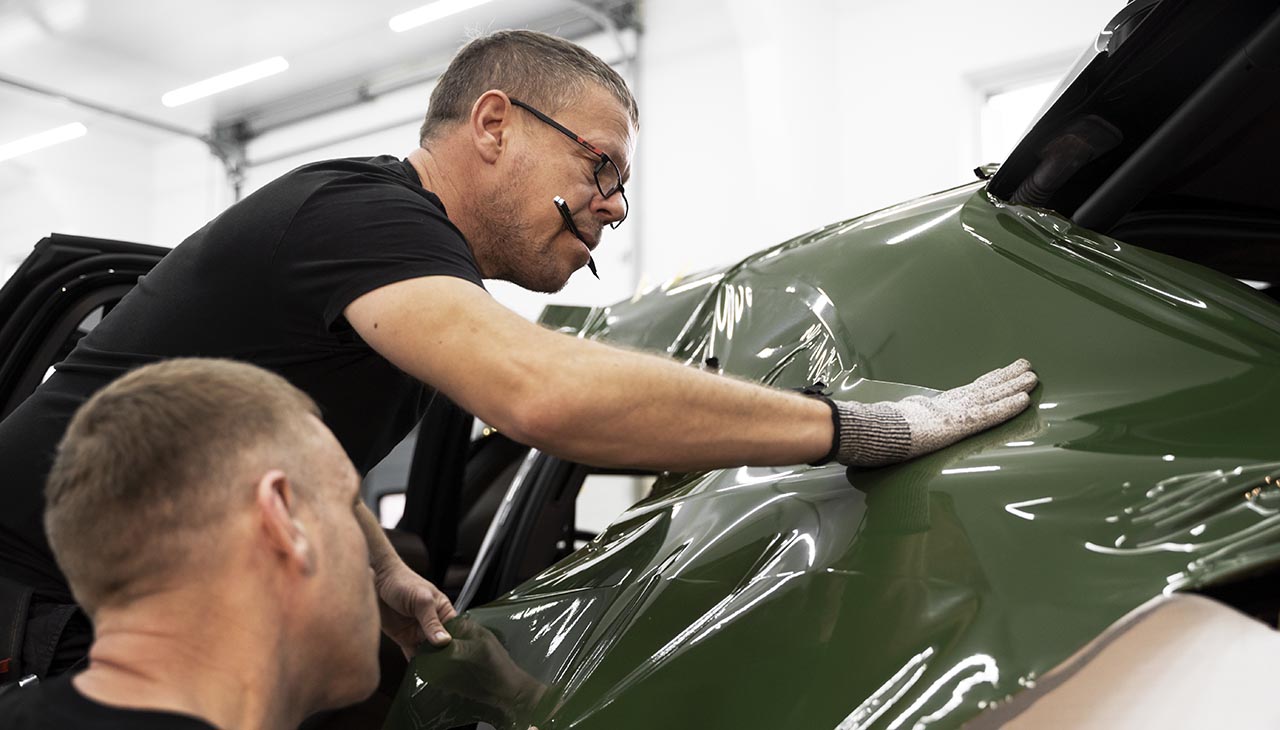
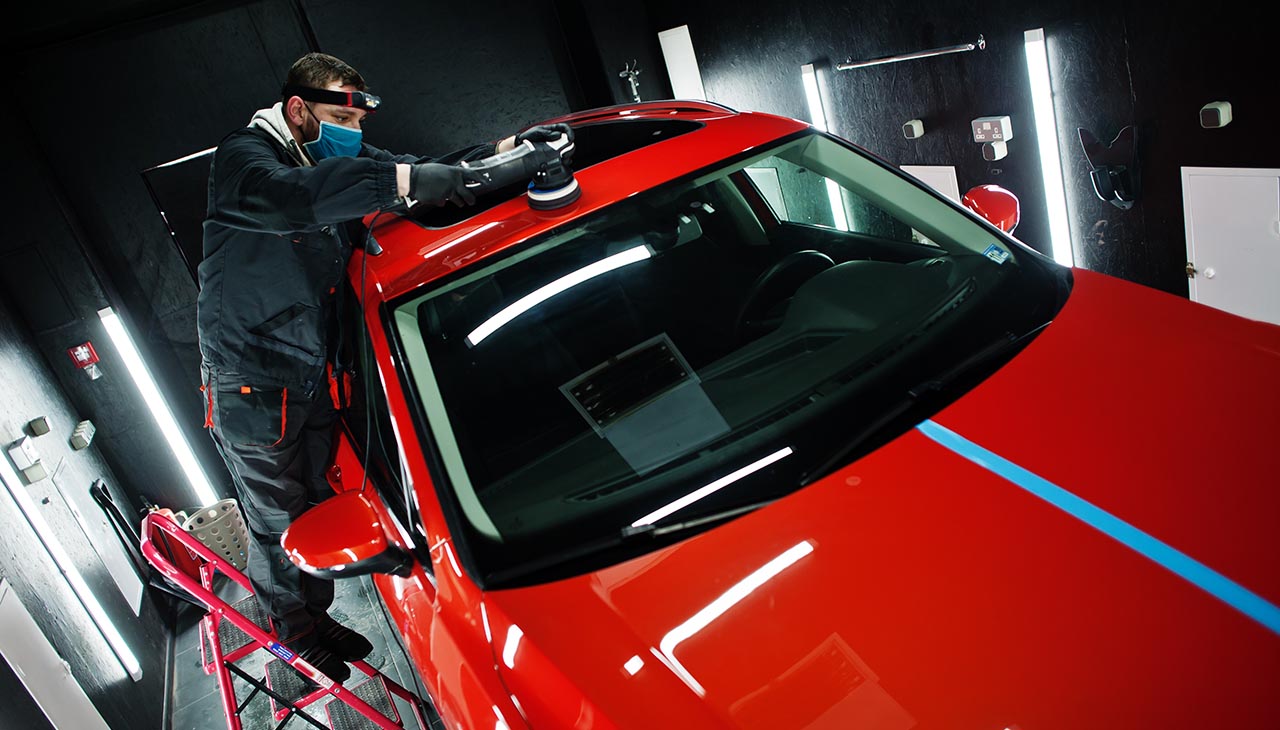
Auto body restoration is a meticulous process that demands patience, skill, and a keen eye for detail. Whether it’s a…
Welcome to the Ultimate Guide to Restoring Your Motorcycle. Whether you’re a seasoned mechanic or a newbie just getting your…